Insights & Guides
Resources Hub
Practical articles on automation, AI, marketing, and growth.

What Is GEO (Generative Engine Optimization) and Why Your Business Needs It in 2026
AI chatbots now answer questions Google used to send you traffic for. Learn what GEO is, how it differs from SEO, and how to make sure your business gets recommended.

Your AI Voice Agents Can Now Detect Spam Callers and End Calls Automatically
Scotify Solutions AI voice agents can now recognize spam and telemarketer calls, end them gracefully, and automatically block repeat offenders so your team and your call minutes go to real customers.
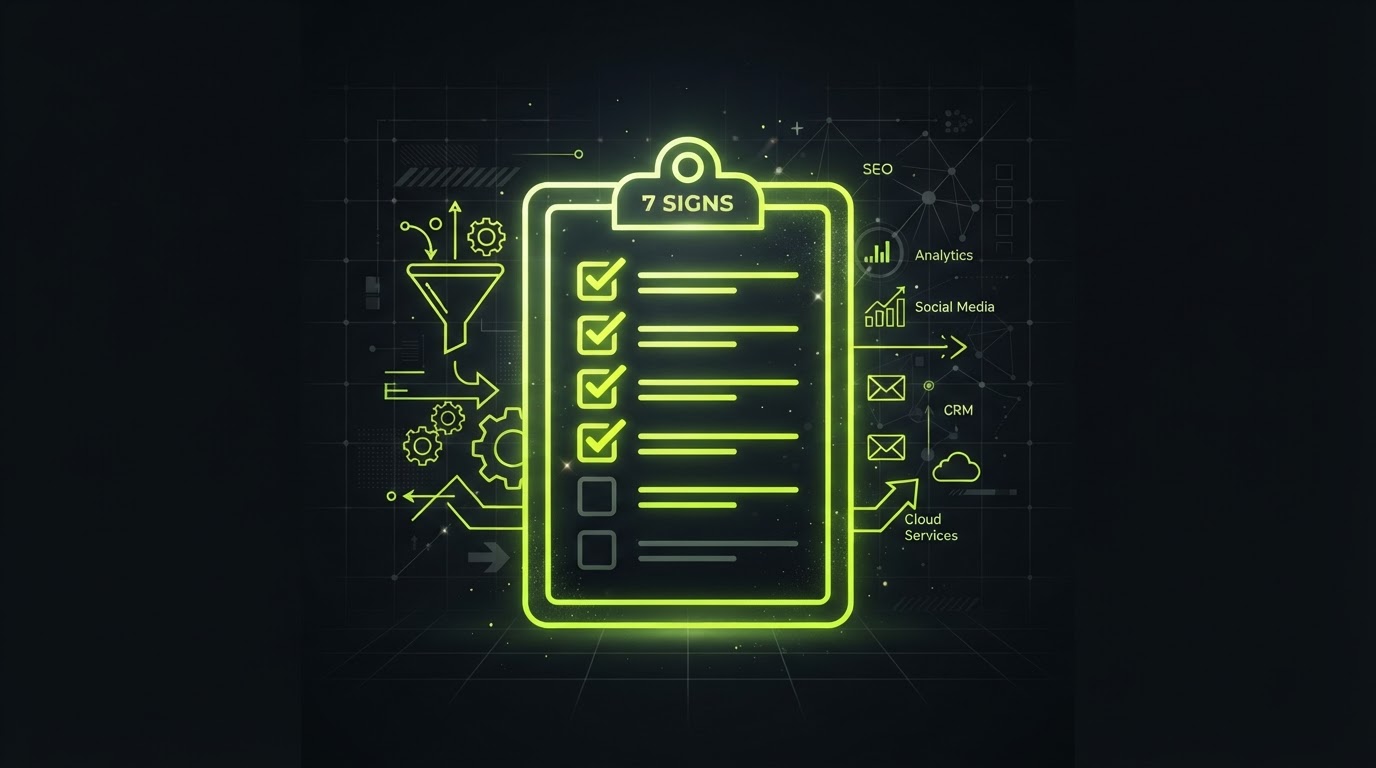
7 Signs It's Time to Outsource Your Marketing and Tech Stack
Doing everything yourself worked for a while, but growth changes what a business needs. Here are the clearest signs it's time to bring in outside help.
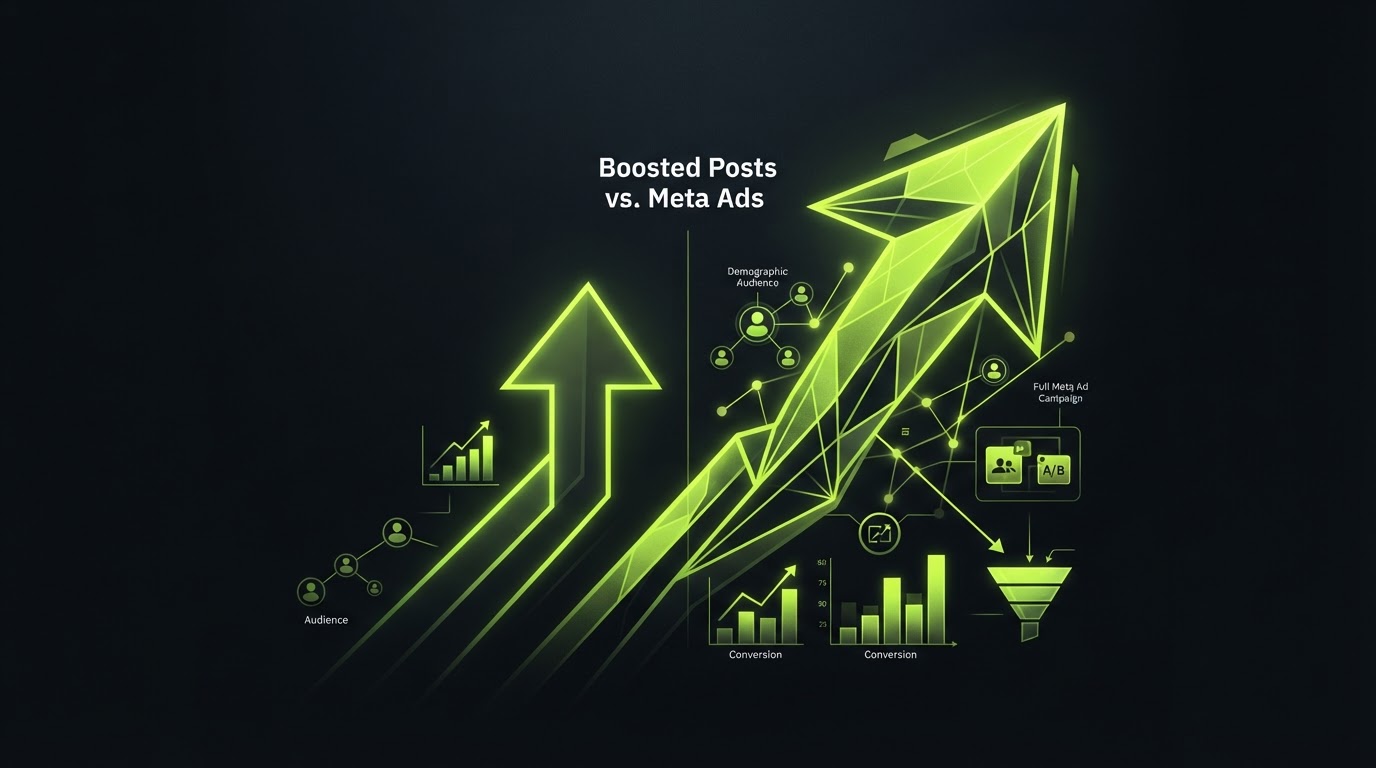
Boosted Posts vs. Meta Ads: A Research Brief
When to boost a Facebook or Instagram post versus building a full Meta Ads campaign, and how to turn a scheduled post into an ad using the Use Existing Post feature.
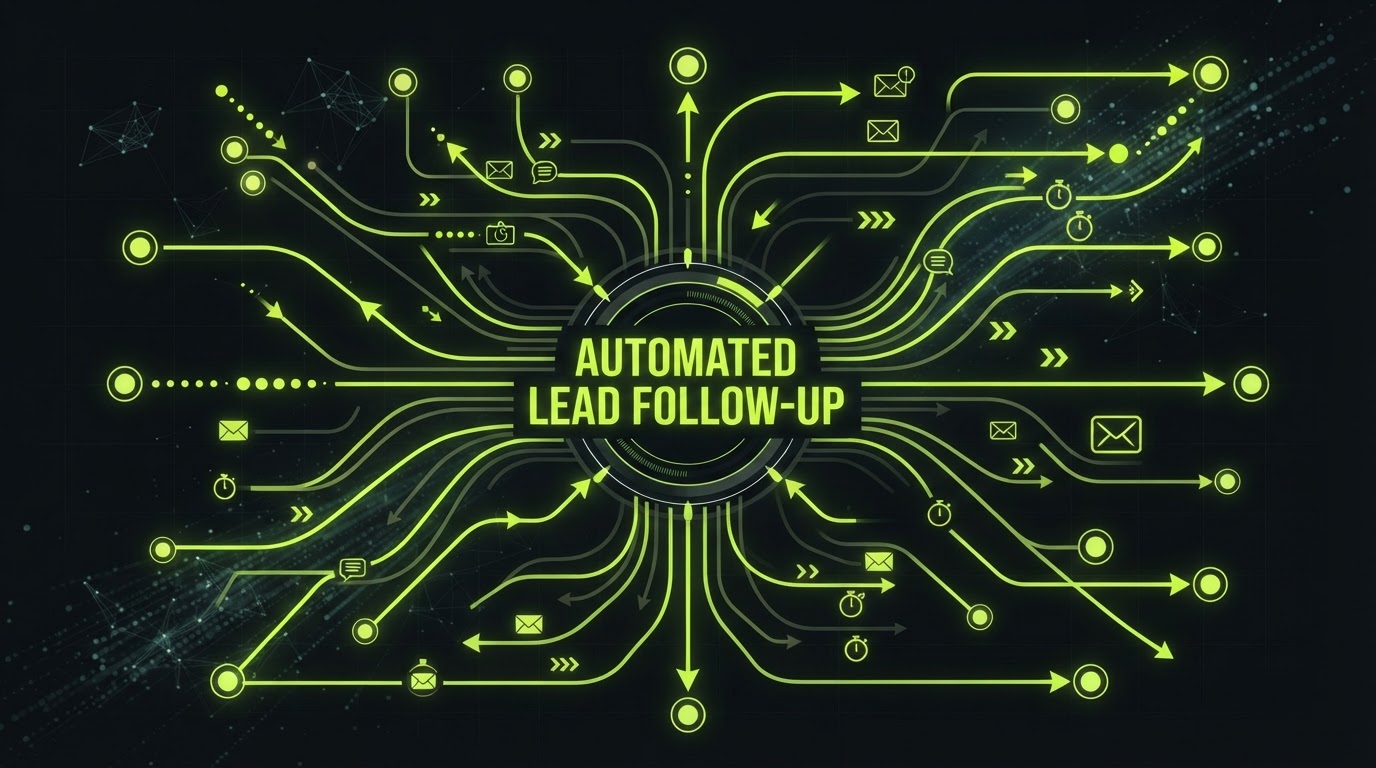
How to Automate Lead Follow-Up So No Prospect Slips Away
A practical breakdown of how automated lead follow-up works inside Scotify Solutions, with a real workflow example and the metrics that matter.

AI Agents for Small Business: Your 24/7 Front Desk
How Scotify Solutions' AI agents qualify leads, book appointments, and answer questions around the clock without adding headcount.
Build a Website That Converts (Not Just One That Looks Pretty)
The structural choices that turn a Scotify Solutions website from a digital brochure into a lead-capturing machine.
Is Your Website Invisible to AI Search? Here's How to Check
Your site can look perfect to a human and still be invisible to ChatGPT, Gemini, and other AI search tools. Here's why, and how to check yours.

CRM vs. Spreadsheets: Why Growing Businesses Make the Switch
Spreadsheets worked when you had 20 customers. Here's what breaks as you grow, and what a real CRM actually gives you instead.

The Real Cost of Slow Lead Follow-Up (And How to Fix It)
Waiting even a few hours to follow up with a new lead can cut your odds of converting them dramatically. Here's why speed matters and how to automate it.
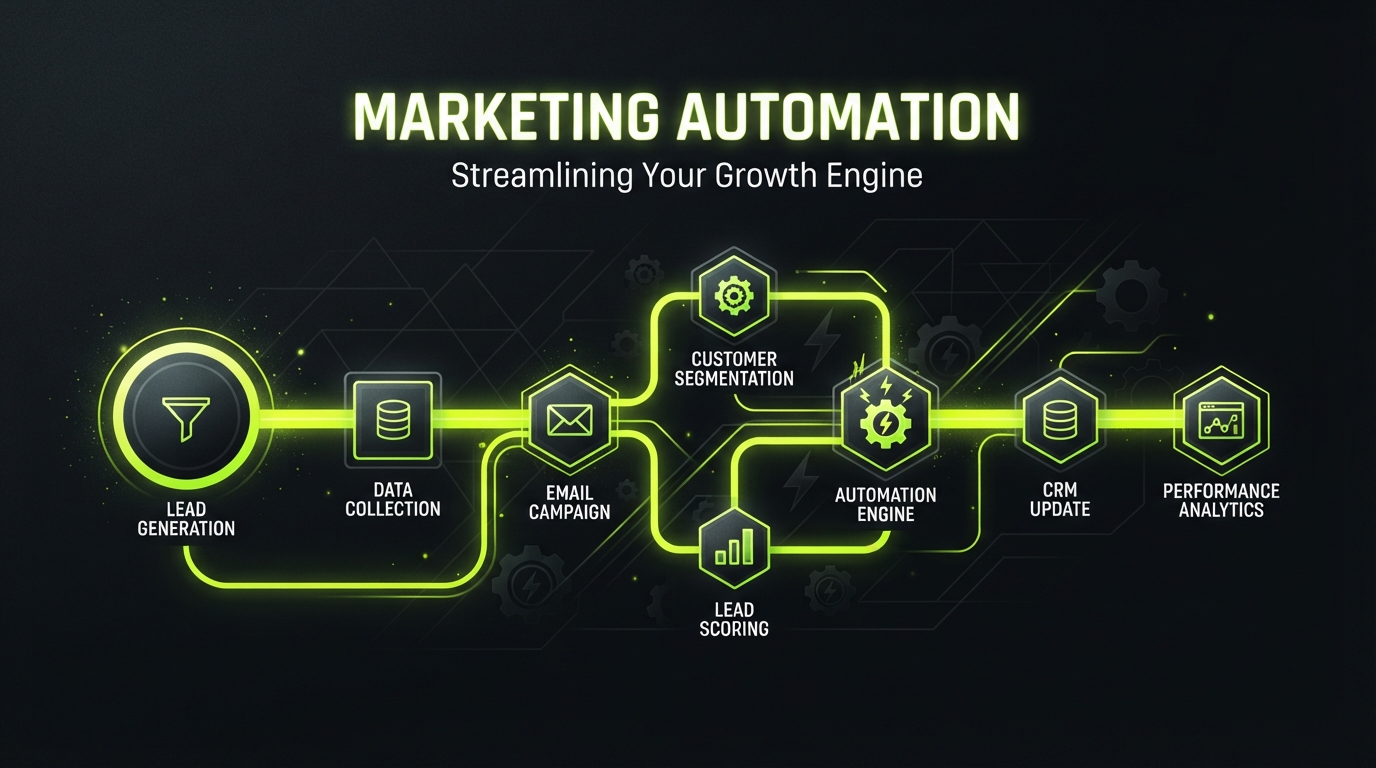
What Is Marketing Automation? A Plain-English Guide for Local Businesses
Marketing automation sounds complicated, but the core idea is simple. Here's what it actually means, what it does, and where to start.

Why Growing Businesses Are Ditching 10 Disconnected Tools for One Platform
Separate tools for calendars, texting, email, payments, and reviews seem fine until they aren't. Here's the real cost of a fragmented tech stack.
How AI Agents Are Changing Customer Service for Small Businesses
AI agents can now answer questions, qualify leads, and book appointments around the clock. Here's what they actually do, and where they fit alongside a human team.

How to Reduce No-Shows With Automated Appointment Reminders
No-shows quietly cost businesses real money every week. Here's why they happen and how automated reminders fix most of it without extra staff time.

Local SEO in 2026: What Still Works (and What's a Waste of Money)
Local SEO advice changes constantly, and a lot of it is outdated. Here's what actually moves the needle for local businesses right now.
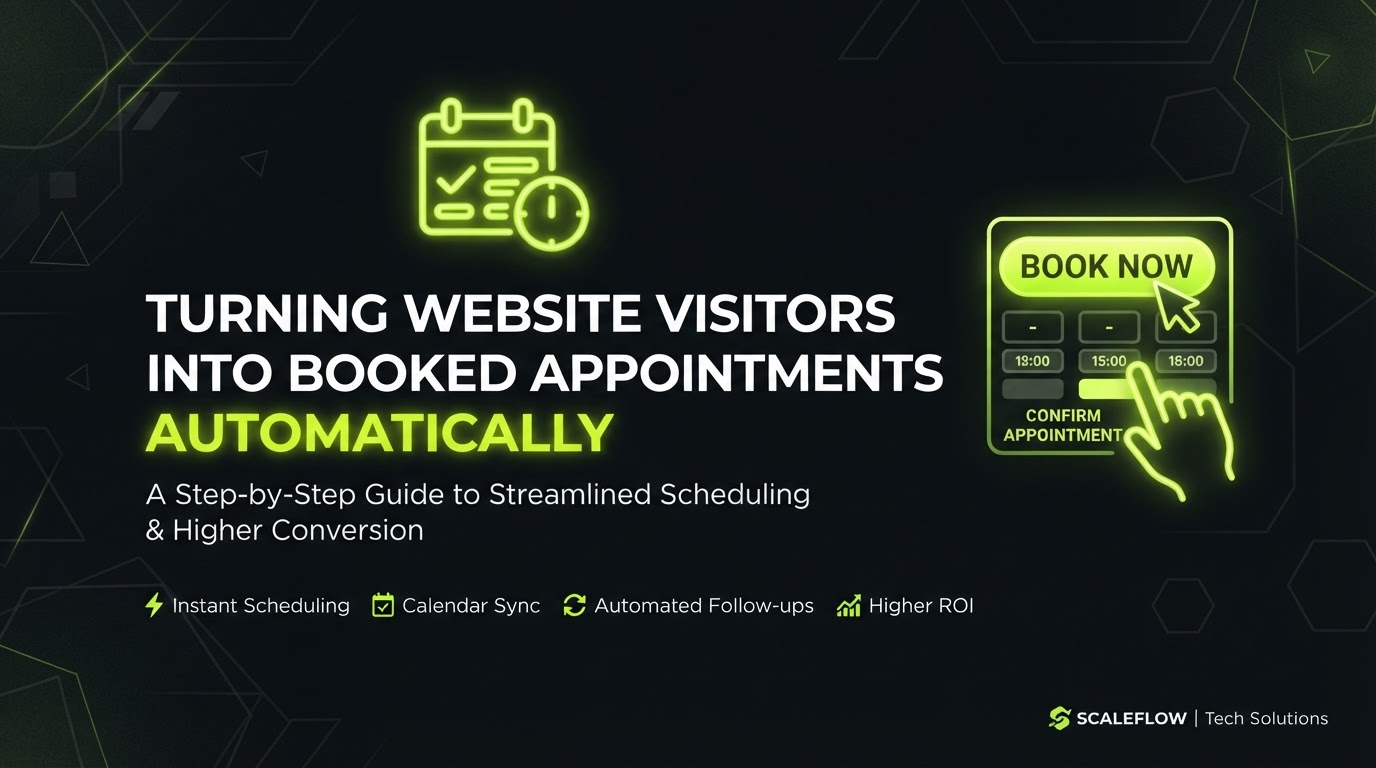
How to Turn Website Visitors Into Booked Appointments, Automatically
Traffic doesn't matter if it doesn't convert. Here's how to turn website visitors into booked calls and appointments without manual back-and-forth.
Reputation Management 101: Why Reviews Make or Break Local Businesses
Online reviews now influence buying decisions more than almost any other factor. Here's how reputation management actually works, and how to build a steady system for it.

Missed Call Text-Back: The Simple Automation That Recovers Lost Leads
A missed call doesn't have to mean a lost lead. Here's how missed-call text-back automation works and why it's one of the highest-ROI fixes a business can make.
What Is a Sales Funnel, and Does Your Business Actually Need One?
Funnel gets thrown around a lot in marketing. Here's what it actually means in practice, and how to tell if your business needs one.

Email Marketing vs. SMS Marketing: Which Converts Better for Local Businesses?
Email and SMS both have a place in a local business's marketing, but they're not interchangeable. Here's when to use each, and how to use them together.
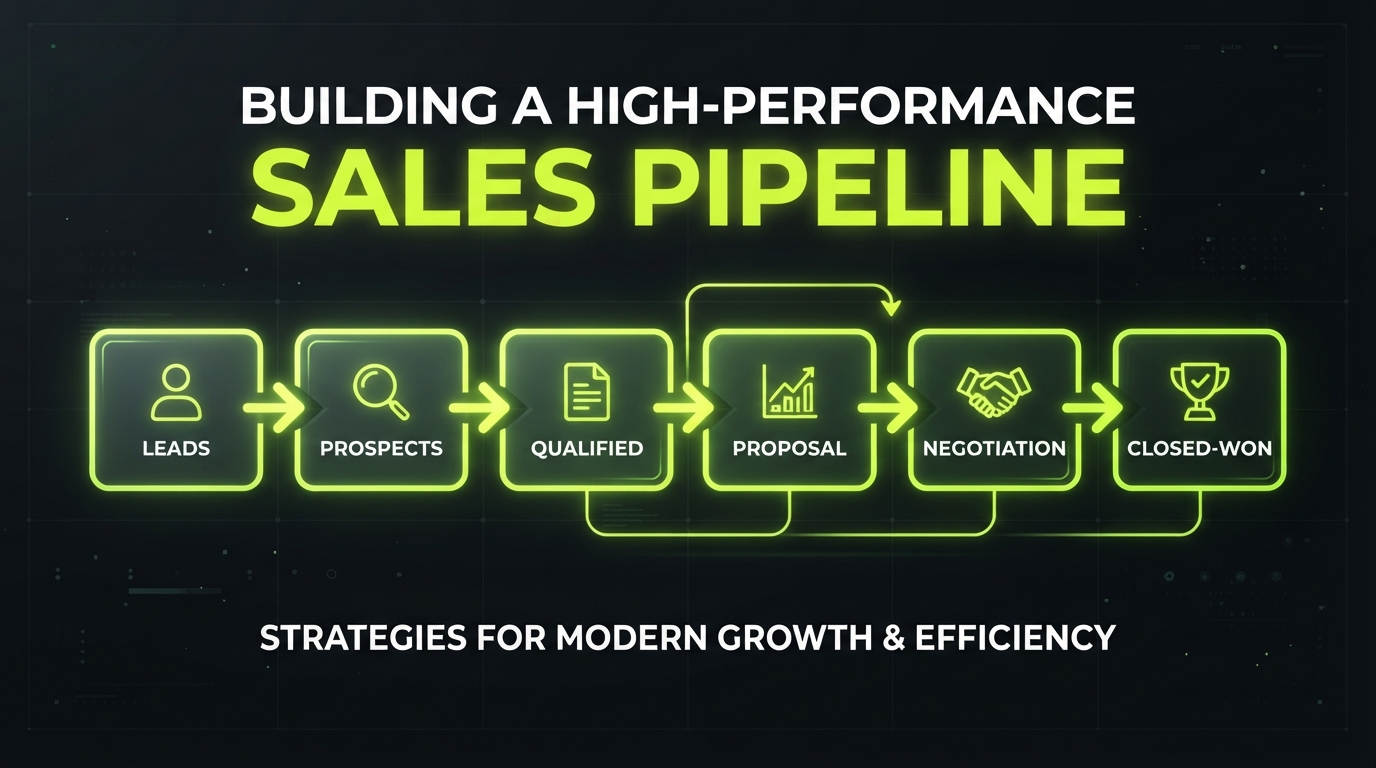
Why Every Business Needs a Sales Pipeline, Even a One-Person Shop
A sales pipeline isn't just for big sales teams. Here's why tracking leads visually matters even for small and solo businesses, and how to set one up simply.

5 Marketing Metrics Every Small Business Should Actually Track
Most businesses track too many vanity numbers and not enough of the ones that actually matter. Here are the 5 metrics worth your attention.
Automated Invoicing and Payment Reminders: How to Get Paid Faster Without Chasing Anyone
Late payments usually aren't about customers refusing to pay, they're about invoices getting forgotten. Here's how automation fixes that.

What Is Schema Markup, and Why Does Your Website Need It?
Schema markup is invisible to visitors but crucial for search engines and AI tools. Here's a plain-English explanation of what it is and why it matters.